L2: First Pixel
Excuse our mess while we finish this page! You can contribute here.
Overview
In this lesson, students will connect CincoBit or PixoBit to a computer and begin programming using MicroBlocks.
Students will learn how MicroBlocks communicates with the board in real time and how code changes can instantly update the device without needing to recompile or upload a full program.
Using the display, students will light pixels, create simple images, and explore how computers use small points of light to create graphics and animations.
Learning Goals
Students will:
- connect a board using USB
- connect MicroBlocks to the device
- understand live programming updates
- light LEDs and create simple graphics
Time Required
30-45 minutes
Materials
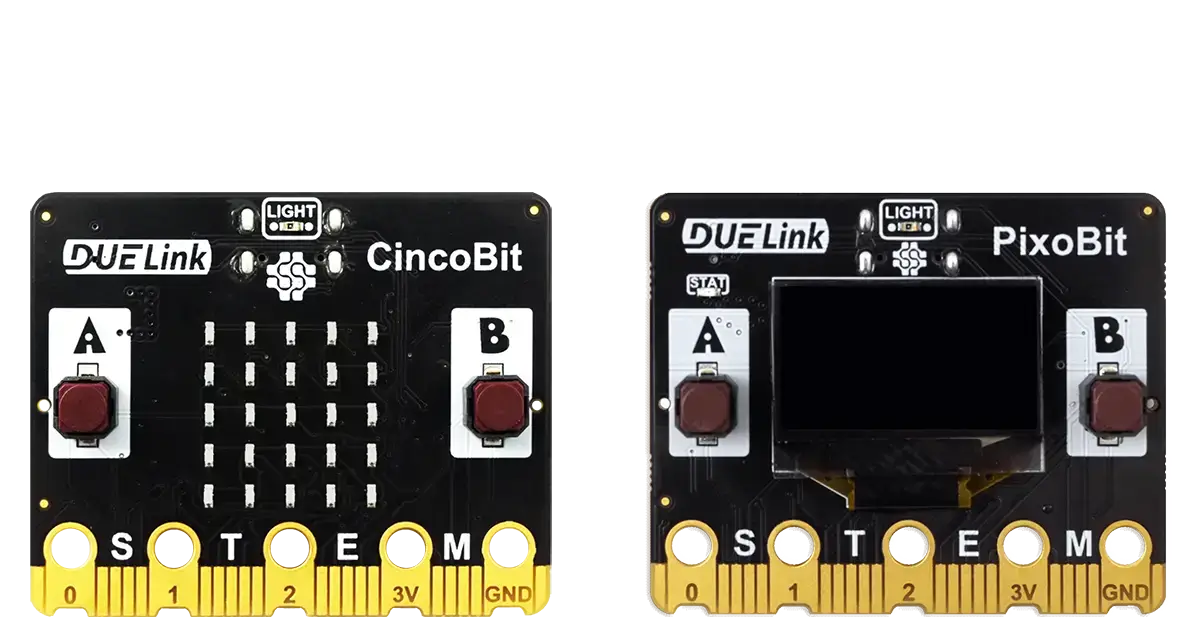
- CincoBit or PixoBit
- USB cable
- Computer or Chromebook
- MicroBlocks
Teacher Notes
This lesson is focused on:
- setup success
- reducing student anxiety
- creating immediate visual feedback
Students should leave the lesson with:
- a connected device
- a working program
- confidence using the programming environment
Encourage experimentation and exploration.
What is MicroBlocks?
MicroBlocks is a live block-based programming environment designed for physical computing devices.
Unlike traditional systems where programs must be compiled and uploaded every time a change is made, MicroBlocks updates the board instantly while the program is running.
This allows students to:
- experiment quickly
- test ideas immediately
- learn through exploration
Changes can happen live while the device is operating.
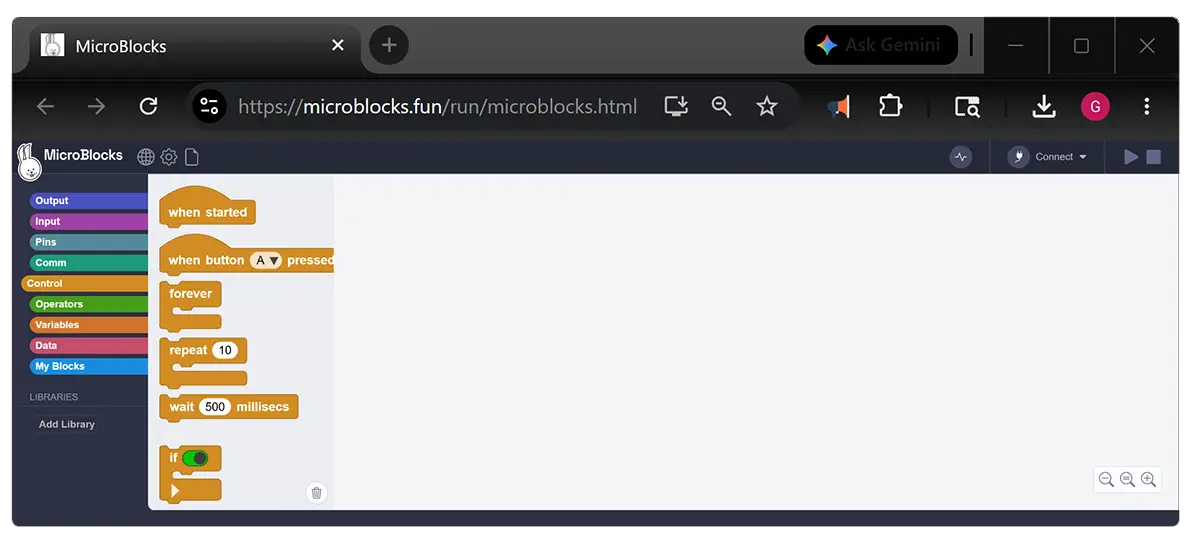
Step 1 - Connect the Device
Plug CincoBit or PixoBit into the computer using USB.
Open MicroBlocks: microblocks.fun/run/microblocks.html.
The Connect option is on the top right.

Select Connect (USB) from the menu.
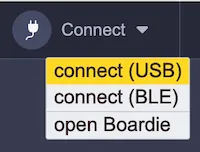
Select the DUELink MicroBlocks board in the dialog that appears, then click the Connect button:
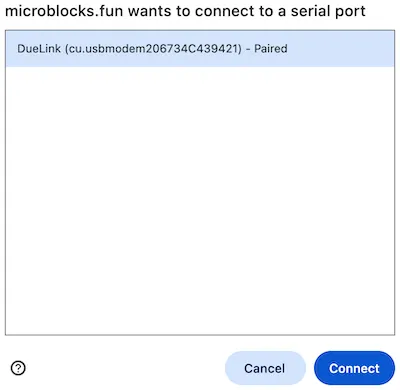
If you do not see your DUELink MicroBlocks board, make sure it is connected with a good USB cable, then click its reset button.
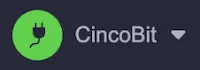
When the board is connected, the Connect button will turn green and the name of the board will appear next to it:
MicroBlocks may automatically add some needed compatible libraries, like when CincoBit is connected.
- the
LED Displaylibrary - the
Tonelibrary
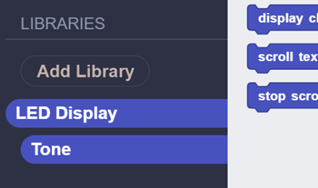
These libraries provide blocks for:
- graphics
- animations
- sounds
- music
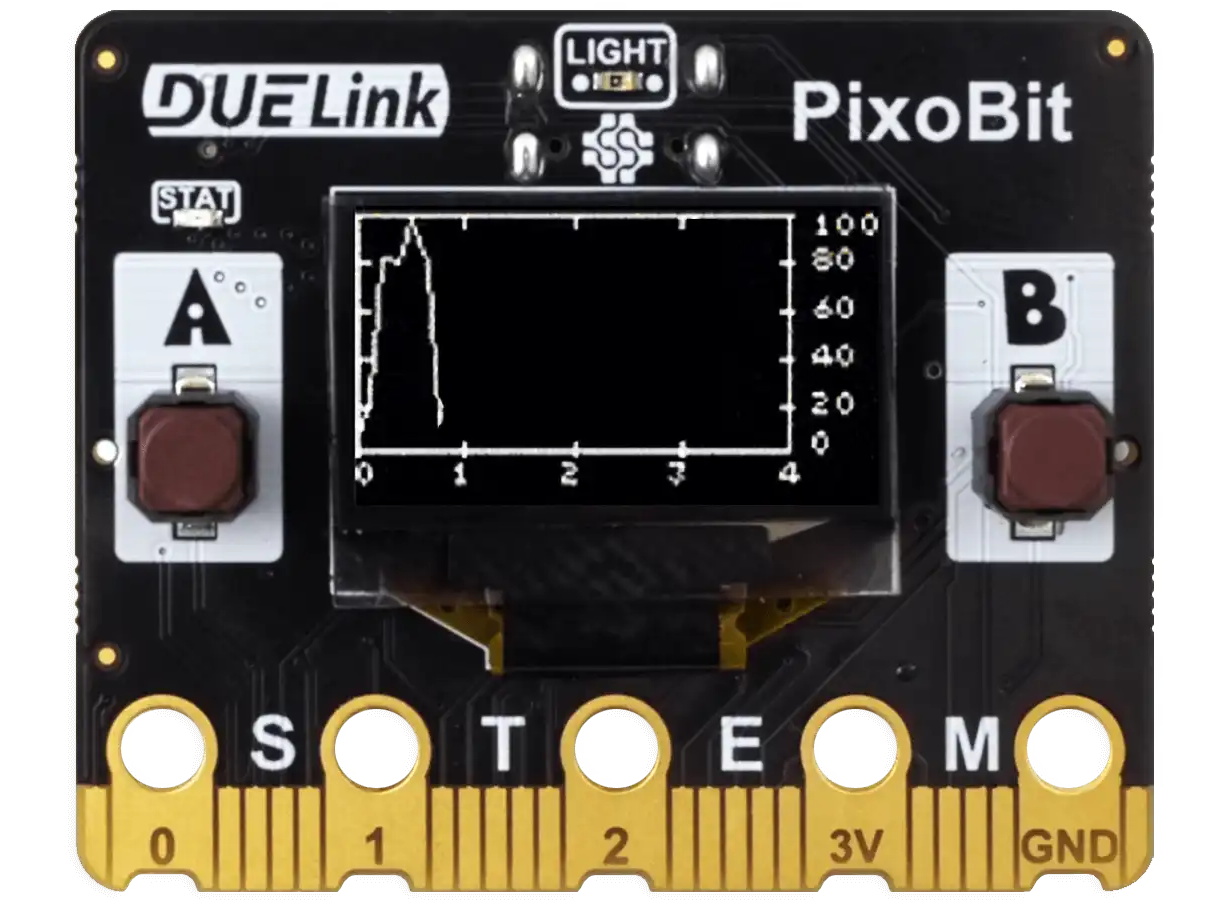
When using PixoBit, the Tiny OLED graphical library is automatically added instead of the LED Display library that is designed for 5x5 pixel displays.
For simplicity and maximum lesson compatibility between CincoBit and PixoBit, we recommend using the LED Display library throughout this curriculum on both boards. This allows the same lessons and projects to work consistently across devices.
As students become more advanced, PixoBit users can transition to the Tiny OLED library to take advantage of the full 128x64 graphical display. This enables:
- full text display
- larger graphics
- basic shapes
- richer animations
If PixoBit is connected, MicroBlocks will automatically add Tiny OLED library. Add the LED Display library by clicking Add library button then selecting LED Display.
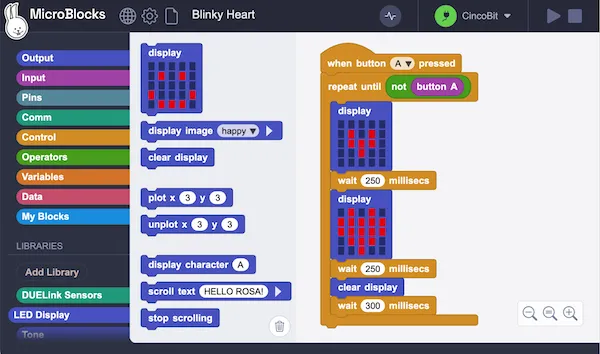
Step 2 - Showing a Smiley Face
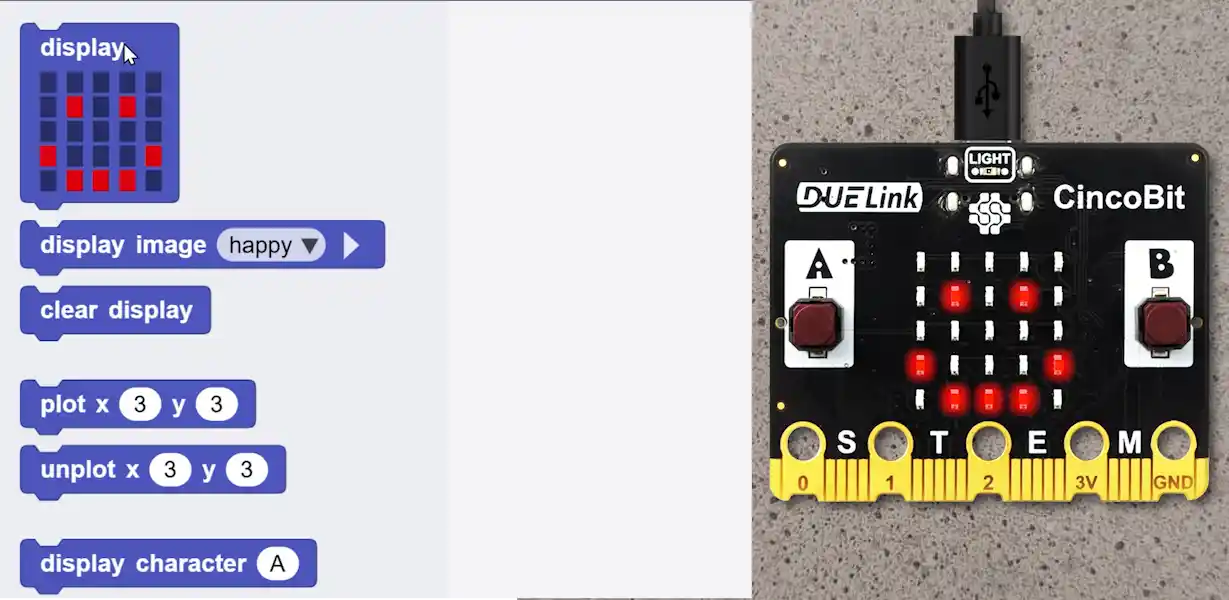
Locate the display block inside the LED display library. Click on the top side of the block.
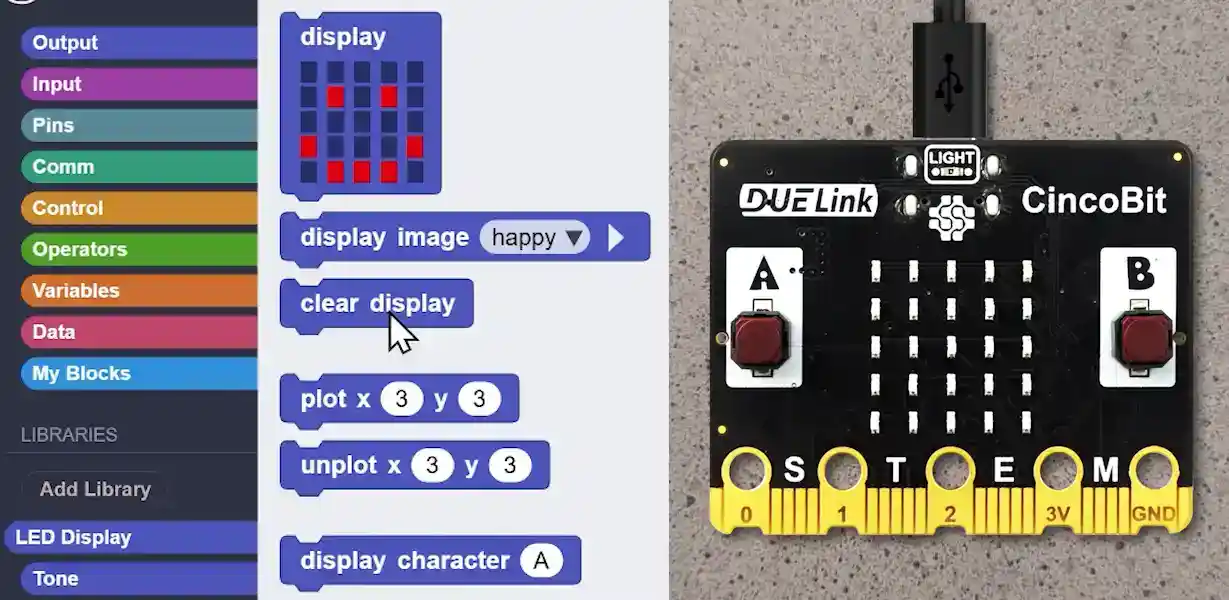
When the block is clicked:
- the image immediately appears on CincoBit.
Click the clear display block. The board's screen will clear out immediately.
Notice:
The board updates instantly without restarting the program.
This is called live programming.
This means:
- programs update immediately
- changes appear instantly
- students can experiment quickly
Unlike many programming tools, there is no compile or download process.
Students can:
- click blocks
- observe results immediately
- modify programs while running
Pull the display block into the workspace.
Now:
- edit the pixels
- change the image
- click the block again
The CincoBit display updates instantly.
Students can:
- turn pixels on and off
- draw patterns
- create simple graphics
Create:
- a smiley face
- a heart
- letters
- custom designs
Understanding Pixels
Displays are made from many tiny lights called pixels.
- CincoBit uses a 5×5 LED matrix.
- PixoBit uses a larger graphical display with many more pixels.
Programs control pixels by turning them on or off to create:
- images
- text
- animations
- games
Real-World Connection
Live programming tools are used by engineers, artists, and designers to quickly test ideas and prototype interactive devices.
Displays made from pixels are used in:
- watches
- phones
- game systems
- signs
- appliances
- cars
Troubleshooting
- Device does not appear
- reconnect USB cable
- try another cable
- restart MicroBlocks
- Program does not respond
- verify the board is connected
- reconnect the device
- Display looks incorrect
- check pixel positions carefully
- clear the screen before drawing again
Vocabulary
| Word | Meaning |
|---|---|
| Pixel | A tiny point of light on a display |
| LED | Light Emitting Diode |
| Live Programming | Updating a running program instantly |
| USB | Connection used for communication and power |
Wrap-Up Question
Why might live programming help engineers and programmers experiment more quickly?