L1: Boardie - Virtual Device
Excuse our mess while we finish this page! You can contribute here.
Overview
This is a prerequisite lesson on how to use the built-in Virtual Device. No hardware is required!
In this lesson, students will learn how to use Boardie, a virtual programmable device included with MicroBlocks.
Boardie allows students to:
- learn programming without hardware
- experiment quickly
- test ideas safely
- continue learning at home
In this lesson, students will:
- create LED graphics
- animate images
- play notes
- experiment with sound and display blocks
No hardware is required.
Learning Goals
Students will:
- understand what Boardie is
- use the LED Display library
- use the Tone library
- display images and animations
- play musical notes
- duplicate and combine blocks
- understand live programming in MicroBlocks
Time Required
30–45 minutes
Materials
- Computer or Chromebook
- Internet connection
- MicroBlocks
Teacher Notes
This lesson introduces:
live programming and virtual devices
Students should understand:
- programs can run without hardware
- code updates immediately in MicroBlocks
- virtual testing environments are common in engineering
Boardie is useful for:
- classroom preparation
- homework
- remote learning
- experimentation
What is Boardie?
Boardie is a virtual programmable device built into MicroBlocks.
It simulates:
- LED matrix display
- buttons
- sounds
Students can experiment directly in the browser without connecting any hardware.
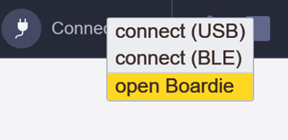
Opening Boardie
Visit microblocks.fun/run/microblocks.html and click on the connect button on the top right side.
When Boardie starts, it automatically loads:
- the LED Display library
- the Tone library
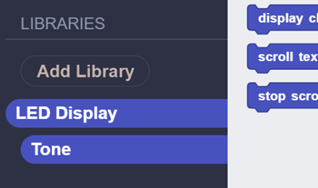
These libraries provide blocks for:
- graphics
- animations
- sounds
- music
Understanding Live Programming
MicroBlocks uses:
live programming
This means:
- programs update immediately
- changes appear instantly
- students can experiment quickly
Unlike many programming tools, there is no compile or download process.
Students can:
- click blocks
- observe results immediately
- modify programs while running
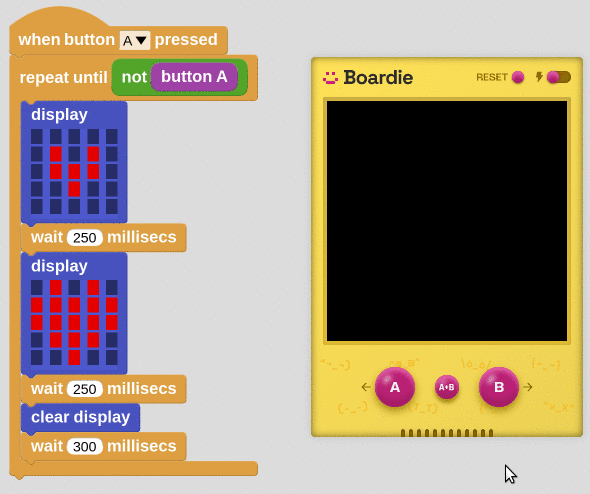
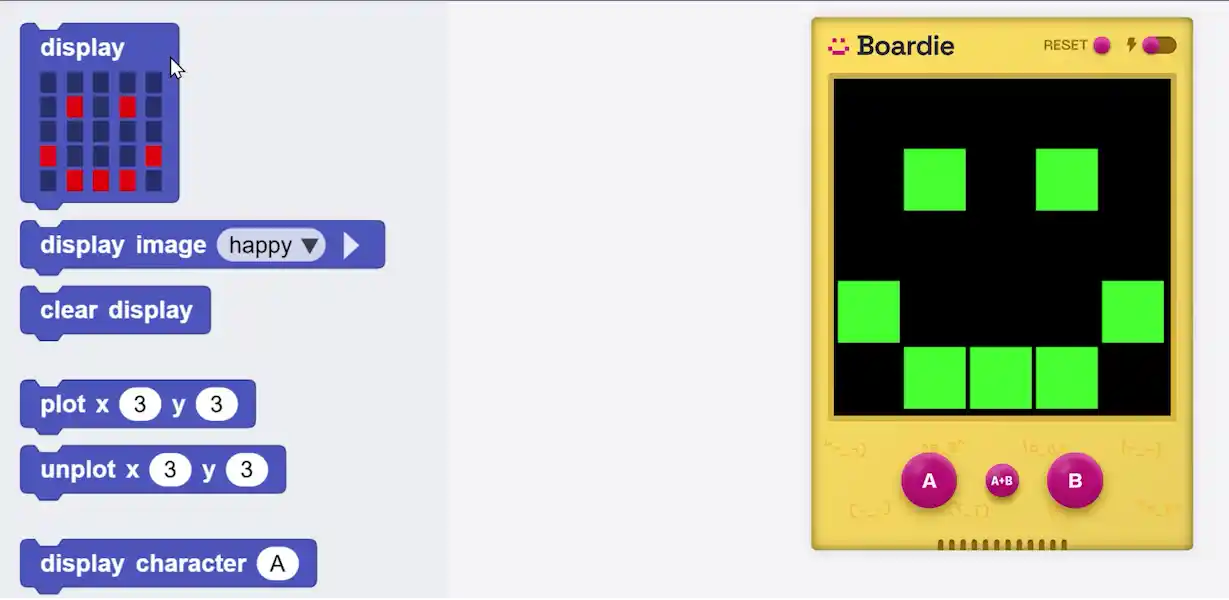
Step 1 - Showing a Smiley Face
Locate the display block inside the LED display library. Click on the top side of the block.
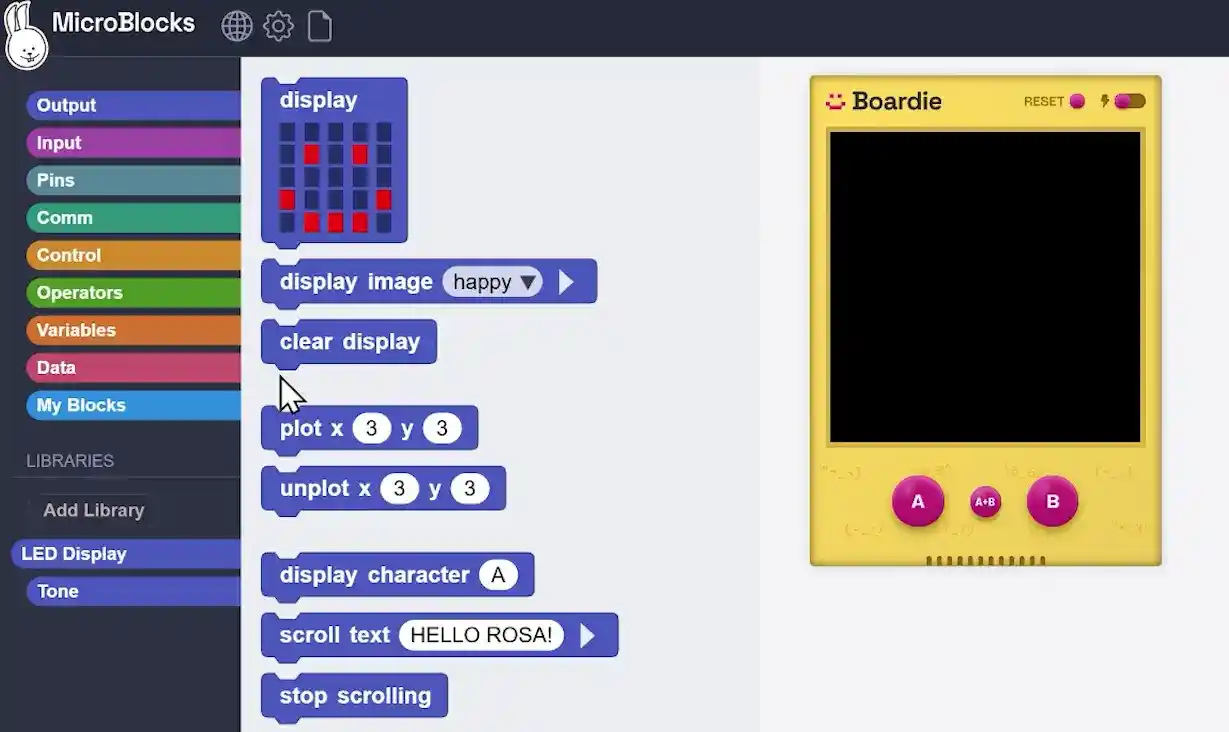
When the block is clicked:
- the image immediately appears on Boardie.
Click the clear display block. Boardie's screen will clear out immediately.
Step 2 - Editing the Image
Pull the display block into the workspace.
Now:
- edit the pixels
- change the image
- click the block again
The Boardie display updates instantly.
Students can:
- turn pixels on and off
- draw patterns
- create simple graphics
Create:
- a smiley face
- a heart
- letters
- custom designs
Step 3 - Display Image Block
Use the display image block to show any of the built in images.
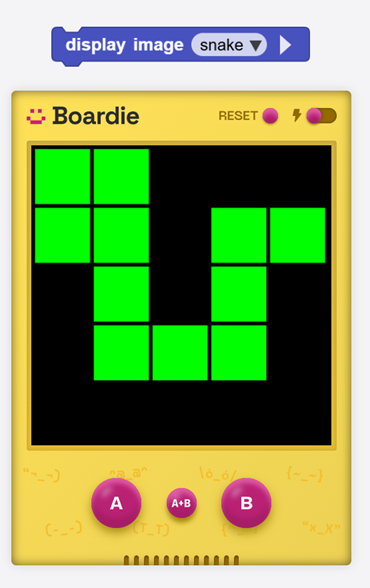
Students can select:
- heart
- small heart
- arrows
- faces
- shapes
Step 4 - Duplicating Blocks
Add a display image block Right-click the block and select:
- duplicate
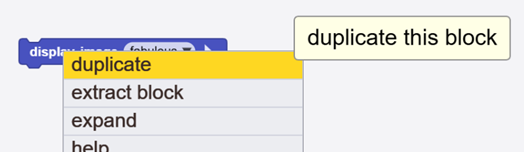
Create two image blocks:
- one with a heart
- one with a small heart
- do not connect the blocks to each other
Now click:
- one block
- then the other
Students will observe:
- the image changes instantly on Boardie
This creates a simple animation effect.
Understanding Animation
Animation is created by:
rapidly changing images
Even simple image changes can create motion effects.
Students can experiment by:
- clicking blocks repeatedly
- changing image order
- creating their own sequences
Step 5 - Playing Notes
Boardie automatically includes the Tone library.
Use the play note block to play the selected note, from an octave, for a specified duration in milliseconds.

Try:
- different notes
- high notes
- low notes
Click the block to hear the sound immediately.
Understanding Musical Notes
Different notes create different sound frequencies. You can set the specific frequency using play frequency.
Students should experiment with:
- pitch
- note changes
- sound patterns
Music and sound are important parts of interactive systems.
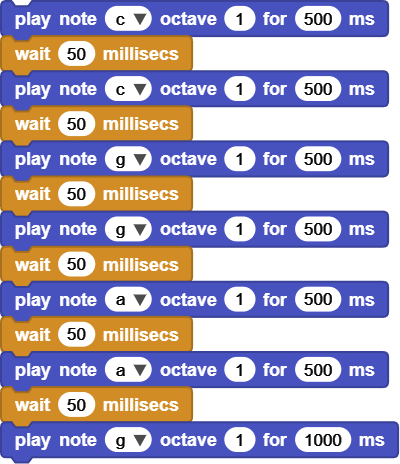
Step 6 - Creating a Melody
Right-click the play note block and:
- duplicate it
- make a few duplicates
Change each block to a different note.
Now:
- attach the blocks together
- click the top block
Students will hear:
a sequence of notes playing as a melody.
You may need to add wait between notes for the melody to sound right. This is an example of the first few notes of "Twinkle Twinkle Little Star".
Combining Display and Sound
Students can now combine:
- images
- animations
- sounds
- melodies
to create interactive projects.
Ideas:
- animated hearts with music
- scrolling patterns
- sound effects with graphics
Why Virtual Devices Matter
Boardie allows students to:
- practice anywhere
- continue learning at home
- experiment safely
- learn before hardware arrives
Professional engineers also use:
- simulators
- emulators
- virtual devices
before testing on real hardware.
Real-World Connection
Virtual testing environments are used in:
- robotics
- electronics
- aerospace
- automotive systems
- game development
Engineers often test ideas virtually before using real hardware.
Troubleshooting
- No sound
- verify the Tone library is loaded
- Display does not update
- click the block again after editing
- Animation does not change
- verify different images are selected
- Notes do not play in sequence
- ensure the blocks are connected together
Vocabulary
| Word | Meaning |
|---|---|
| Virtual Device | Software version of hardware |
| Library | Collection of programming blocks |
| Animation | Changing images to create movement |
| Tone | A sound with a specific pitch |
| Live Programming | Programs update immediately |
Wrap-Up Question
Why might programmers use virtual devices before using real hardware?