Internal Engine
DUELink modules run an Internal Engine that is used to handle commands over multiple Interfaces. It also manages and handles DaisyLink modules on the Downlink socket.
This engine allows DUELink modules to run Standalone using the built-in Scripting Engine. Or modules can be Tethered to a Supported Hardware and coded using several coding languages, including Python, MicroPython, JavaScript, and .NET.
The DUELink Engine has two modes Immediate Mode, where commands are executed immediately, and Record Mode where commands are stored internally in the module.
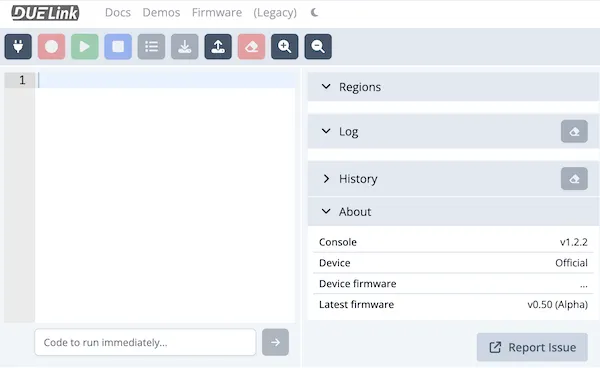
DUELink Console handles both modes, plus many other tasks, such as Regions and Drivers.
Any further details on this page are optionally provided for a deeper understanding of the engine's internals.
Immediate Mode
Immediate Mode is ideal for sending a single line command to trigger an actuator into action or read sensor data. For example, a command can be StatLed(200,200,50), to blink the status LED 50 times with a 200ms on/off interval.
It is possible to send multiple commands in a single Immediate Mode shot by adding : between commands. For example: StatLed(200,200,50):Print("DUELink").
While you can send multiple commands in a single line, the engine will ignore incoming data until it is done executing the current line and sends back the prompt.
To test the inter-working of the engine manually, we will use a terminal software instead of using Console. Open terminal software and connect it to the serial port presented by the connected DUELink module. We are using Tera Term.
![]()
The first thing you do is hit enter. This is required by the module on power up so it can detect the correct Interface. This will result with > prompt. It is possible that a module is running an internal script with an infinite loop, causing it to not respond to commands. In this case, pressing the escape key will terminate the running internal script.
To be safe, just hit enter then escape! You will for sure see > prompt coming back. The device is now ready to accept commands in Immediate Mode.
By default, the device will not echo back what you enter. You can either enable echo from the device using Echo(1) command or by using local echo feature in the terminal software.
Immediate Mode is the default mode on power up.
Type Print("Hello World") and hit enter. The engine will execute the Print command and show Hello World.
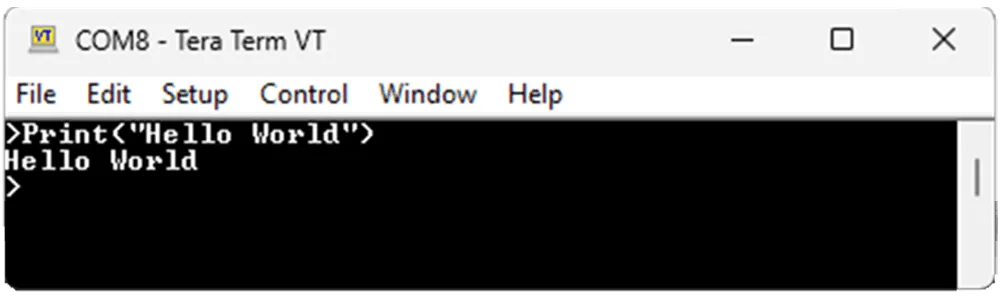
Entering > is the command to switch to Immediate Mode. Keep a note of this once you switch to Recording Mode later.
The engine handles backspaces and left/right arrows to help in editing the entered commands. It even has entered-command-history that can be fetched using up and down arrow keys.
Commands are entered manually for demonstration and testing. However, in normal use Immediate Mode commands come from one of the Supported Hardware over one of the Interfaces.
Record Mode
Record Mode takes the received commands and stores them internally. Those commands can be executed later using the run command. Use list to see a list of recorded commands, and new to erase everything and start new.
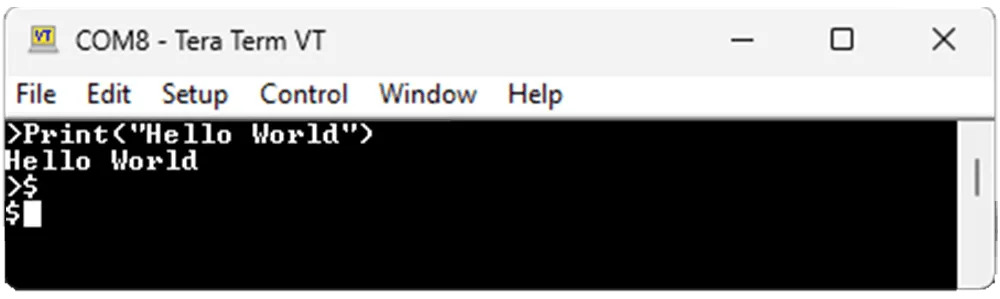
The Record mode is entered using the $ command. This will also switch the prompt to $. All statements entered are stored internally and not executed.
The engine will also automatically run a program on power up, if it finds one!
The commands run, list, and new are never recorded! They are used to handle the recorded program.
Go ahead and enter $ and press the enter key.
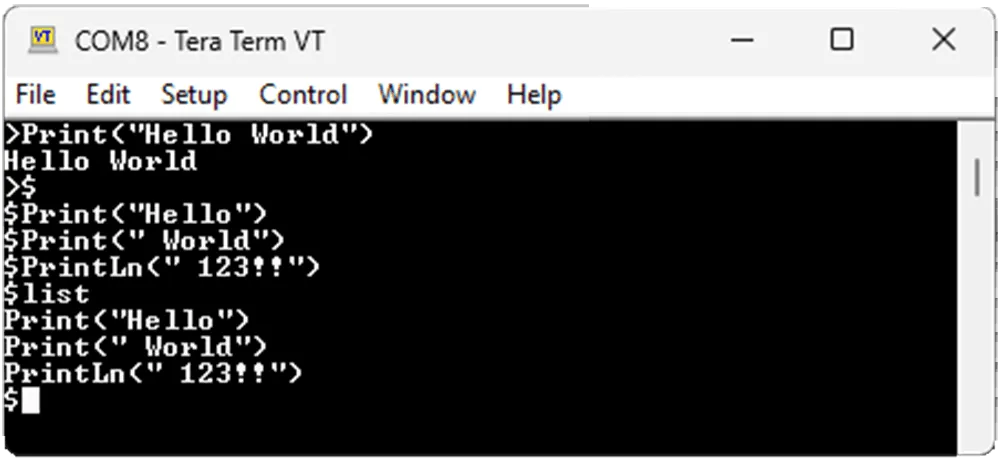
Add three lines of Print commands. Nothing will get executed as those commands are getting stored internally, not executed. When finished, use list to see the commands.
Use run to run the program.
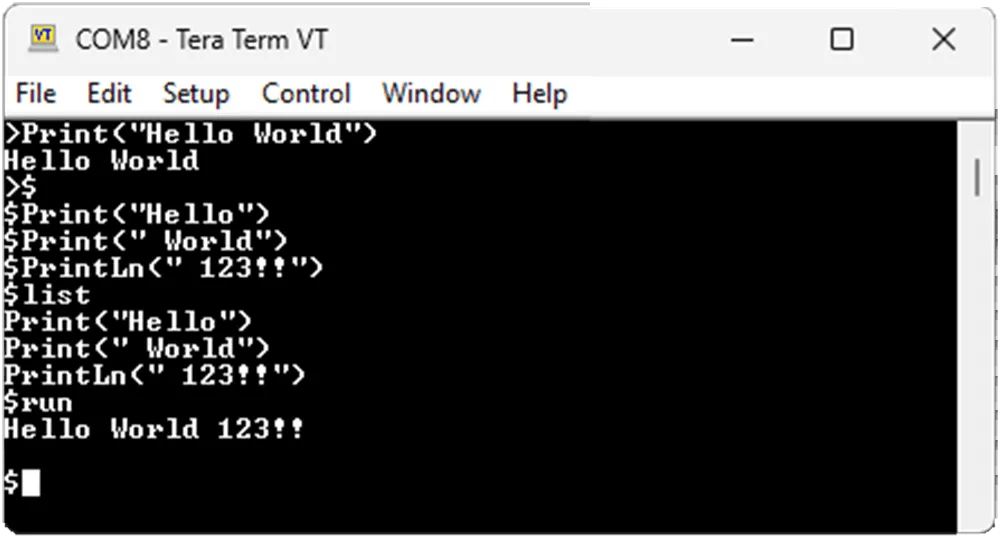
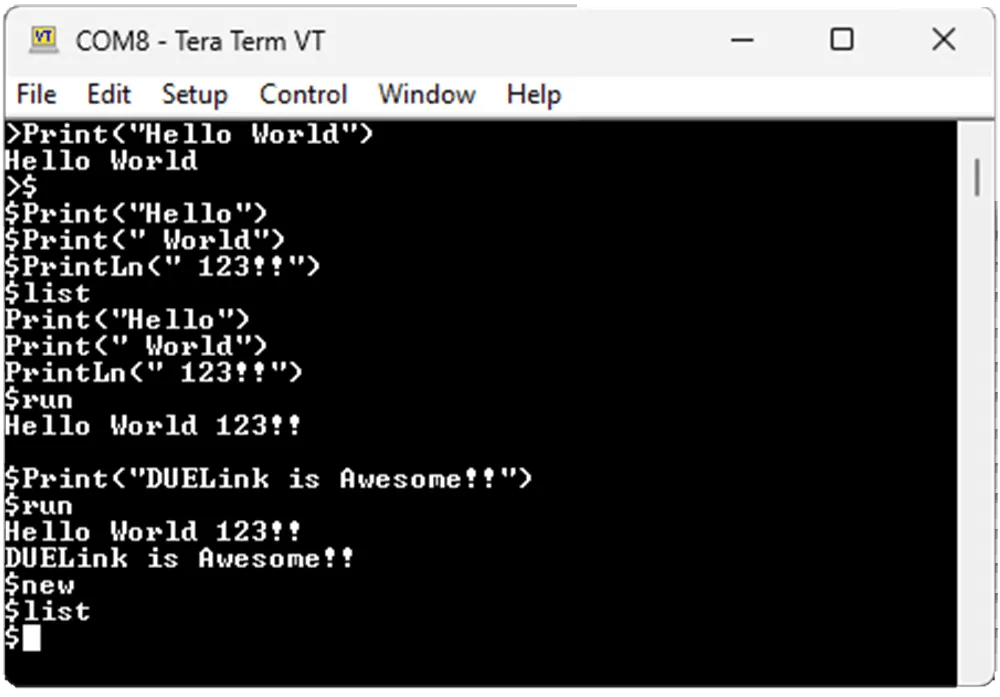
Add another command to the list then try to run again.

Use new to erase the program. Verify the program is removed using list.
It is not possible to modify individual lines once recorded. This is not a problem when using the Console as it sends the program complete in one shot.
We can run a program that runs indefinitely using loops.
@Loop
Print("Hello")
Print(" world")
Print(" 123!!")
Goto Loop
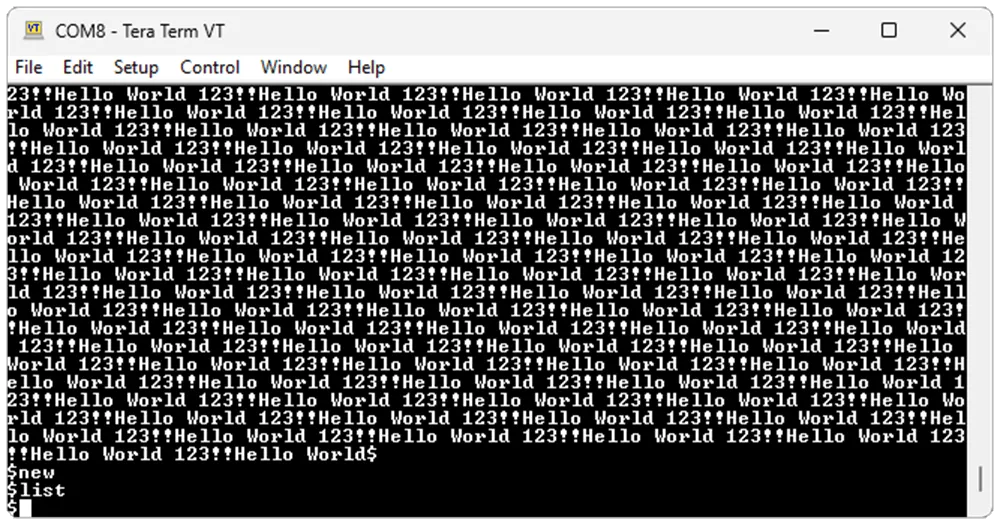
A running program can be terminated by hitting the escape key. Hit ESC, then new to erase the program. Verify using list.
Recording programs are either used to run the module Standalone or to extend the module's functionality using Drivers. When a module has a recorded program (driver) to extend its functionality, and those extra functions are used in immediate mode, we call this Hybrid Mode.
Hybrid Mode
Hybrid Mode is achieved when combining Immediate Mode and Record Mode to extend the system with additional commands. Say we want to extend the system with a Hello() function. We can record this function that can be executed immediately.
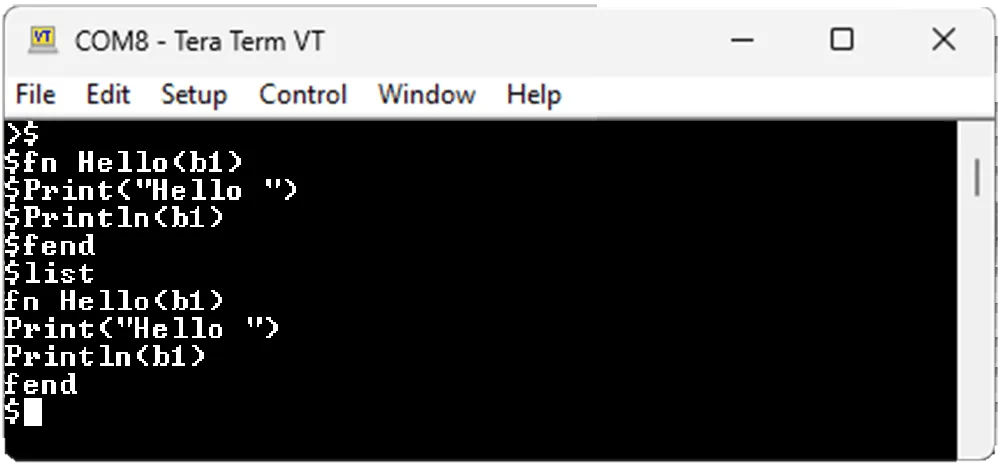
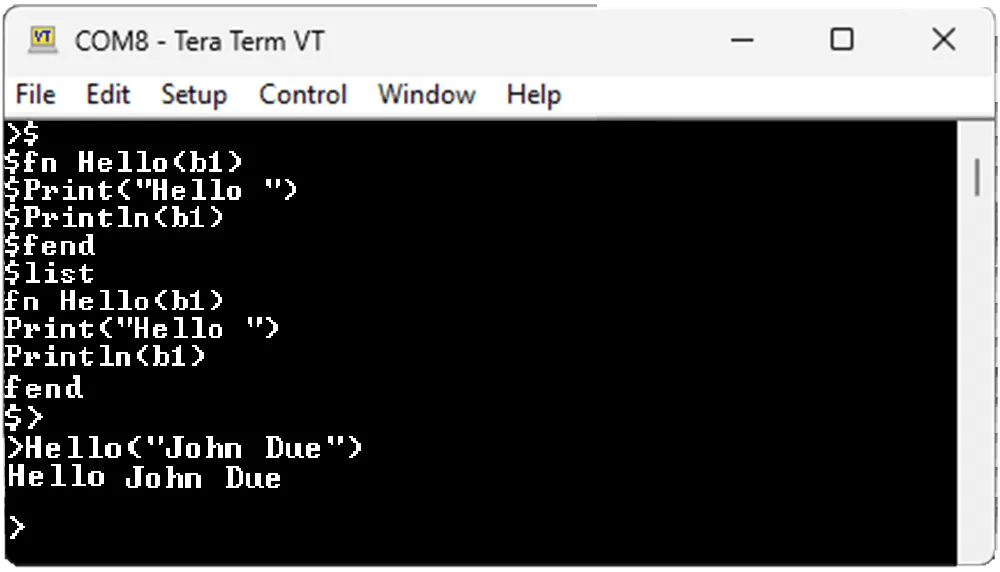
Enter recoding mode then start a new program. Then enter this program:
fn Hello(b1)
Print("Hello ")
PrintLn(b1)
fend
Now, list the program to make sure it was recorded properly.
Switch to Immediate Mode and enter Hello("John Due").
This is exactly how hundreds of modules provide user-friendly drivers. They all have a recorded script that handles module-specific tasks. Then these drivers commands can be executed from a tethered Supported Hardware, over one of the Interfaces, using your favorite Coding Language.
Asynchronous Immediate
When the system busy running an infinite loop, it is possible to inject other commands to run asynchronously. Use Asio(1) to enable this feature.
Consider this program that loops and print the global variable _x every 500ms.
Asio(1)
while 1
PrintLn(_x)
Wait(500)
wend
With Asynchronous immediate enabled, we can now inject _x=5 at any time to change the output to 5.
This can also be used to call functions and even run loops! Any valid single-line commands can be injected asynchronously.
This is a simple program that prints whatever is in a1 every 500ms.
Asio(1)
fn SetA1(a2)
a1 = a2
fend

SetA1("Hello")

while 1
PrintLn(a1)
Wait(500)
wend
Now we can inject SetA1("DUELink"). Of course, you can just do a1[]="Try it", but we used a function to show the possibilities.