Regions
The memory area that holds scripts can be split into regions. This allows users to erase and modify specific regions. For example, a region can carry the module drivers, where a second region can be the user code.
The interpreter treats all regions as one. Having regions is helpful for managing what parts of code can be erased, modified, and viewed.
This feature is used by default on all modules, where region 0 is loaded by us at production, containing that module's specific drivers. This way, you can now record (load) your own code without erasing/modifying the drivers.
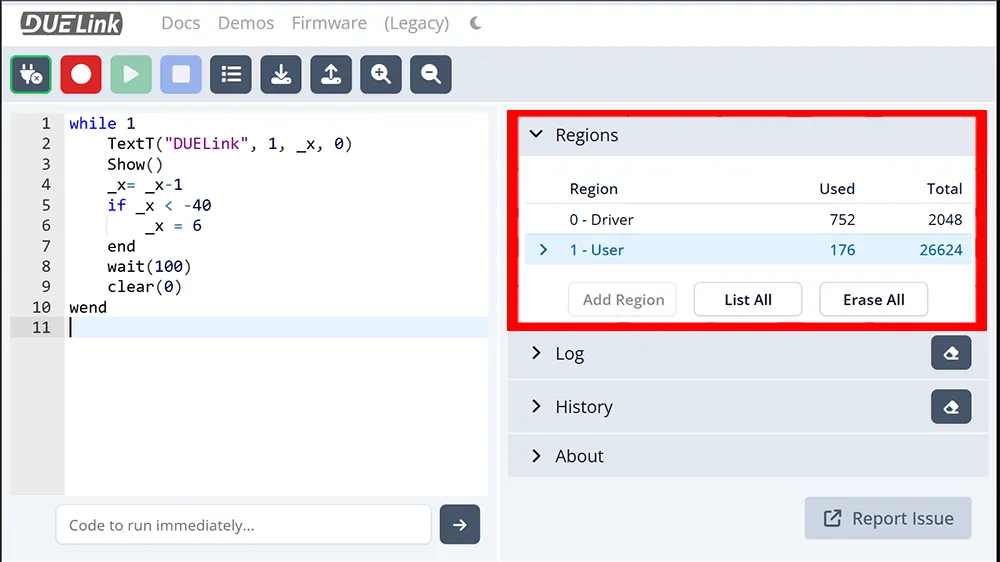
Regions Panel
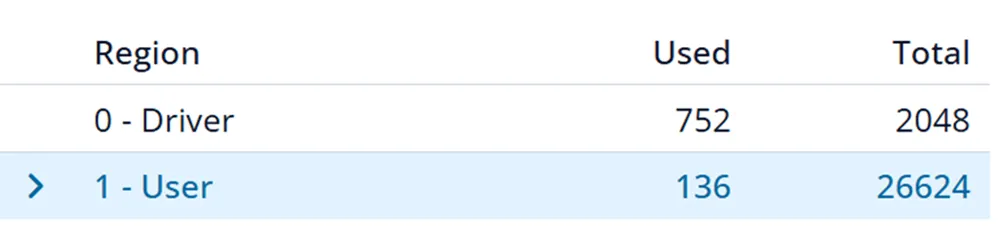
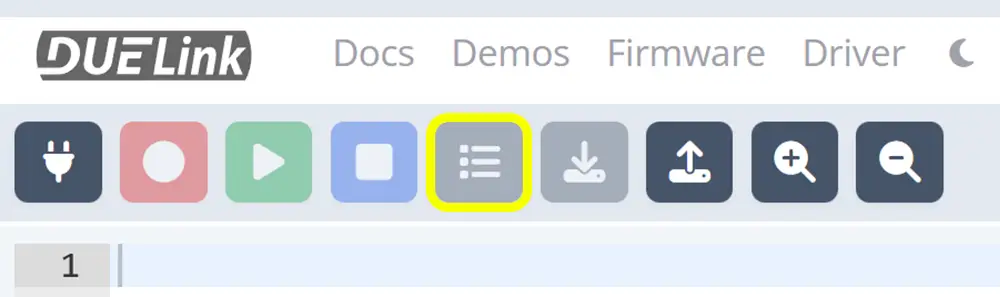
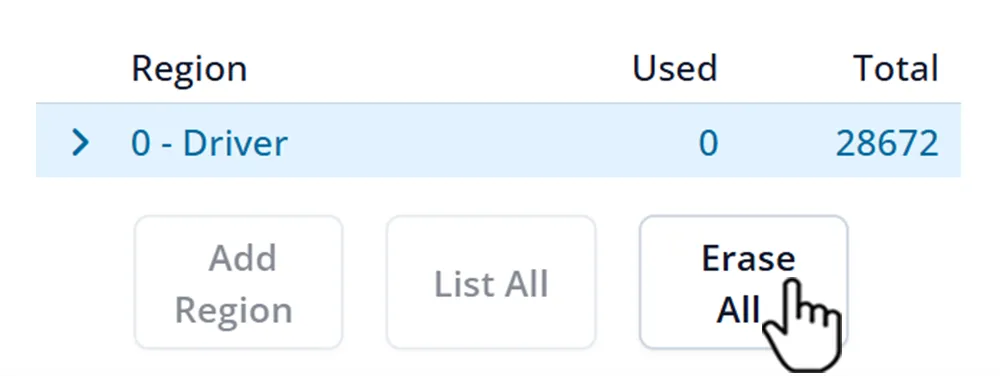
The Regions Panel in the Console contains all the information and tasks you'll need to control and use regions. When you connect a new module, region 0 - Driver contains the driver loaded at the factory. This is shown by the memory used in that region. There may also be test code loaded into region 1 - User.
Buttons along the panel control the action. Add Region, List All, and Erase All. You can select a specific region by clicking on the region.
Add Region
Add Region button is used when there is no region 1 - User code on the micro such as when a user Erases All.
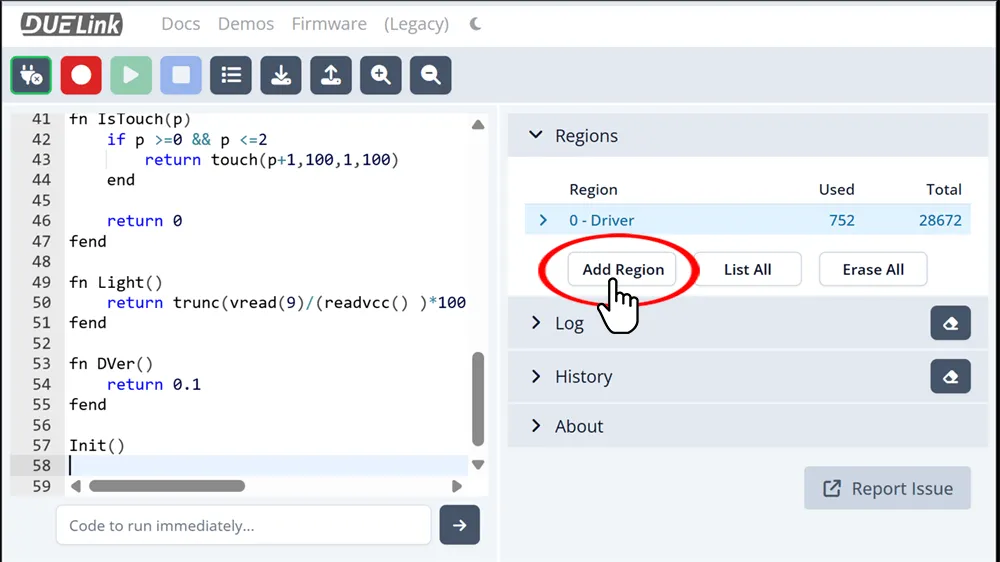
This creates a new region labeled 1 - User. This region is separate from the 0 - driver region.
The editor window displays the code inside our selected region. In a newly created User region, the editor window will be empty and ready for your program. If code already exists in the User region, it can be modified and saved in that same region.
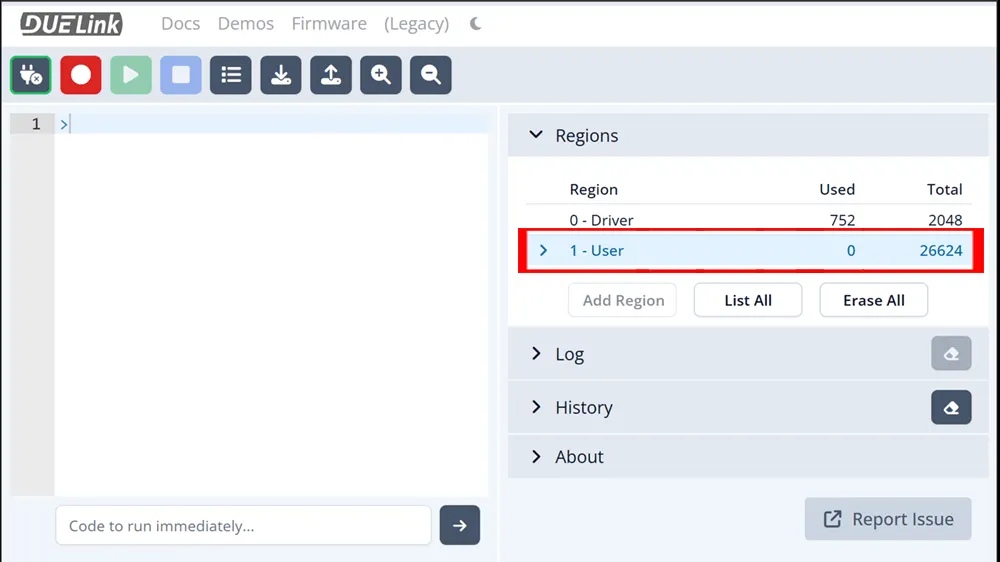
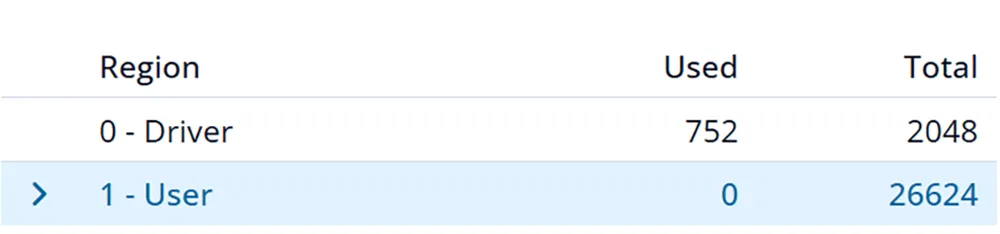
Once we add a region, the memory size of the region 0 - Driver will be locked and the remaining memory will be available inside 1- User for our program.
We can now create our program in this region separate from the Driver. Type your program and hit the record button. This will place your code in the 1 - User region only.

After recording, the Regions panel will update the memory used and available.
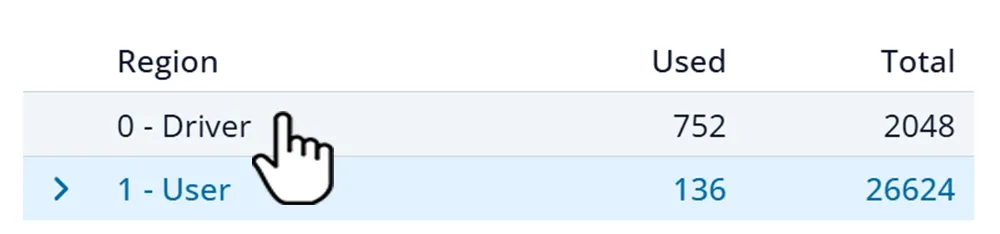
If we need to modify the driver, we can load the driver in the editor window by clicking on 0 - Driver in the Regions panel.
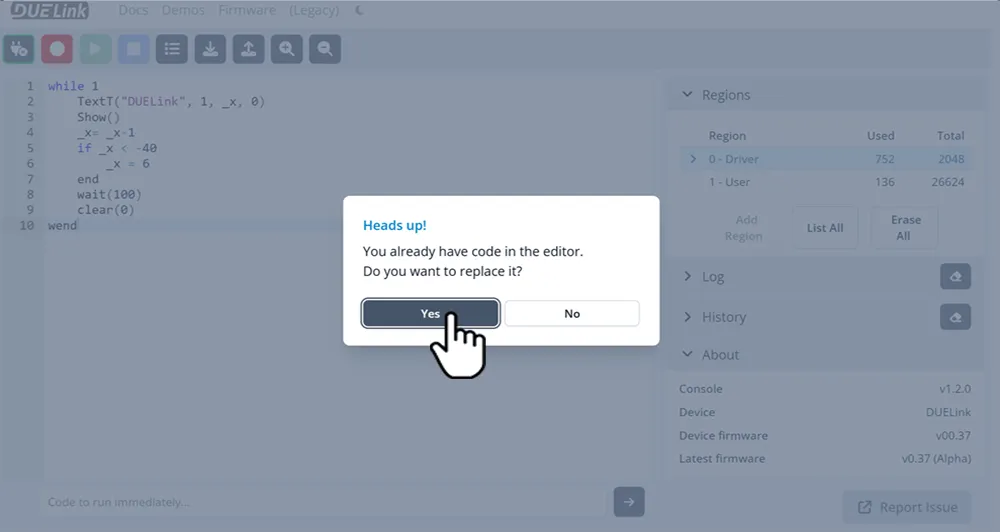
This will prompt us to replace the code in the editor with the 0 - Driver. We can now edit the Driver section and record it when complete.
To go back to the User code, we only need to click on 1 - User and load its code into the editor.
List All
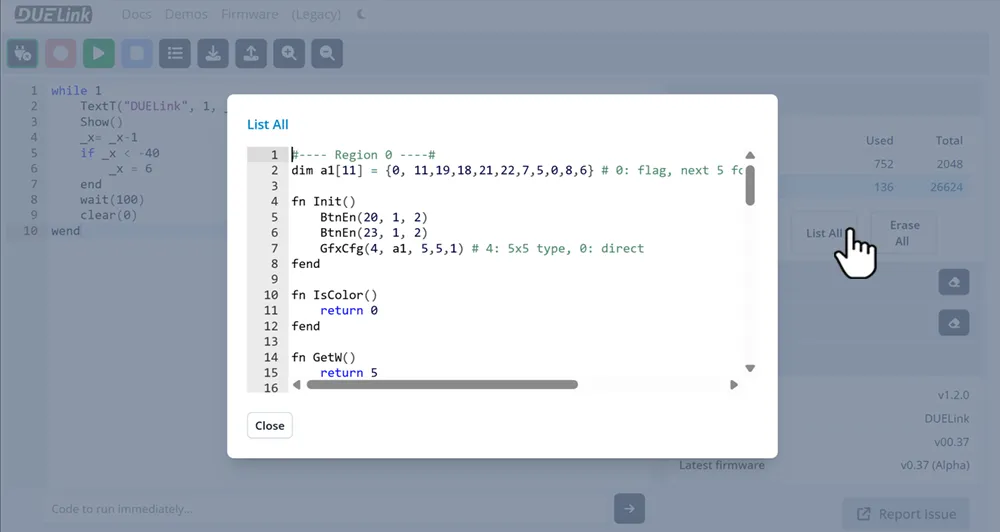
Clicking the List All button will open a window containing code in all our regions.
Using the List button on the top menu lists the only the code currently in the selected region.
Erase All
When clicking the Erase All button, this erases both 0 - Driver and 1 - User regions together.
Erase All is useful when 0 - Driver code has grown beyond what was allocated after adding region 1 - User. You can now enter the larger code into region 0 - Driver then Add Region afterwards. The system will reallocate the size of region 0 - Driver to what is necessary (to the nearest allowed block) and then leave the remaining memory to region 1 - User.
While it is theoretically possible to have more than one region, we only support 2 regions to keep it manageable.